
Privacy Policy popup
× Privacy Policy popup
×
 17
 19 Minutes
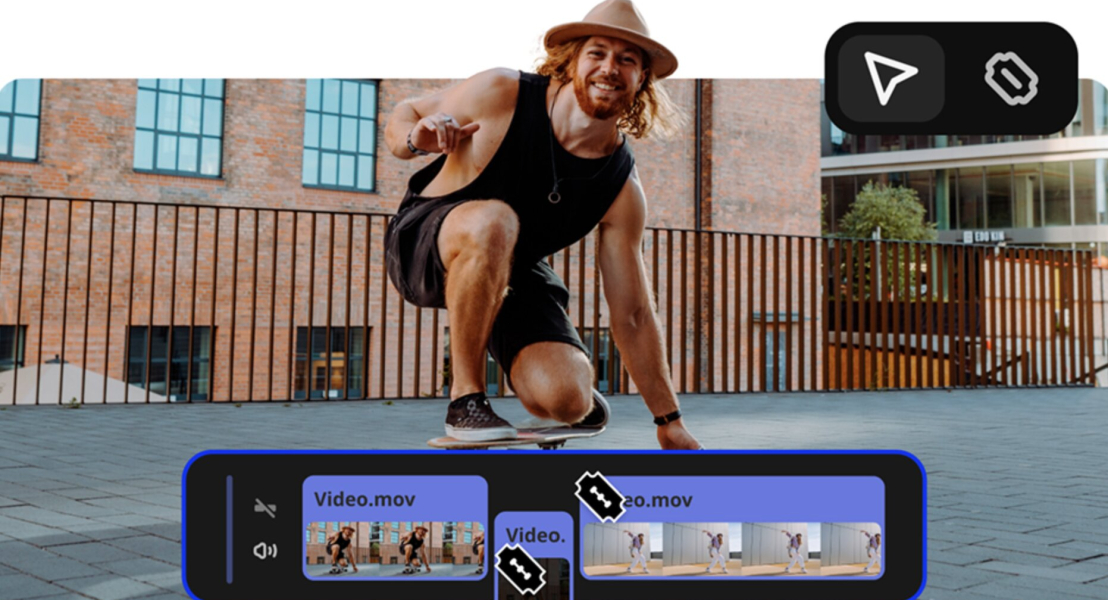
Television channels have put a logo in the corner of the screen for decades as a way to identify the source of a program and to help reduce copyright infringement. A watermark is the same idea for your own videos: a logo or a line of text that stays over the picture.
This guide is for bloggers who add logo to video on every lifestyle vlog, and for small-business owners who brand promo videos for Instagram or Facebook. To add watermark to video, you can use a desktop editor, a browser-based service, or the editor already on your Mac.
The seven tools below cover all three. Movavi Video Editor fits a logo on every vlog, Premiere® Pro and DaVinci Resolve fit professional projects, Clipchamp, VEED, and Kapwing fit quick browser jobs, and iMovie fits Apple users.
| Tool | Best for | Platforms | Free version | Starting price |
| Movavi Video Editor | A channel logo on every vlog, branded promos | Windows, macOS | Free version: 60-second cap, watermark on export | $19.95/month |
| Adobe® Premiere® Pro | Bloggers who work in Adobe® apps | Windows, macOS | No free version; 7-day trial with a subscription | $22.99/month |
| DaVinci Resolve | Film-style vlogs | Windows, macOS, Linux | Free version, no watermark, with limited functionality | $295 |
| Clipchamp | Quick brand clips on Windows | Browser, Windows 11 app, iOS app | Free, 1080p export, no watermark | $11.99/month |
| iMovie | First vlogs on Mac and iPhone | Apple devices | Free, no watermark or limits | Free |
| VEED | Team-branded business videos | Browser, mobile app | Free: watermark, 720p, exports up to 10 minutes | $9/month |
| Kapwing | Short social videos | Browser | Free: watermark, 720p, exports up to 1 minute | $16/month |
Any watermark maker has to do a few specific jobs well. We checked each tool against seven criteria:
Opacity matters more than it sounds. It decides whether your logo reads as a signature or as a sticker.
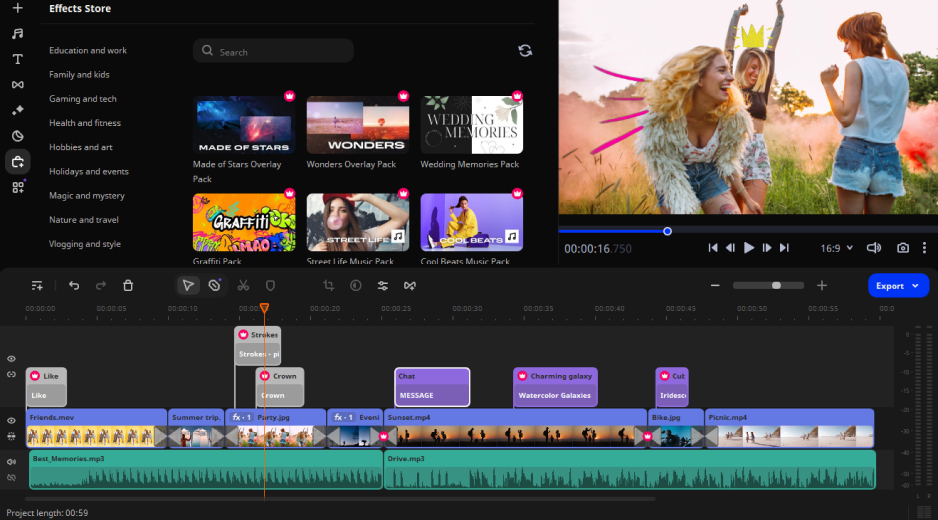
Best for: Bloggers who put one channel logo on every lifestyle vlog, and small-business owners who brand promo videos for Instagram or Facebook.
Why we picked it: Movavi Video Editor is an intuitive video editor with customizable video templates, one-click AI tools, and hundreds of drag-and-drop effects. It is a desktop app for Windows and macOS that works offline, with no account or cloud required. Its Watermark/Logo tool adds an image or a line of text, and you set the position, size, opacity, and duration yourself. Hover previews show the exact frame as you move along the timeline, so you can check where the logo sits before you export. Filming a travel vlog where you walk across the frame? AI motion tracking locks the logo to you in one click and holds its placement through the scene, and every AI tool comes with the full version, with no AI credit system. New to editing? Movavi Ideas is a free tutorial hub with step-by-step guides and new editing tricks every week.
Key features:
Pros:
Cons:
Price and platforms: Desktop app for Windows and macOS. Price: $19.95 per month. Movavi Video Editor Free and the full version differ in limits. Free caps exports at 60 seconds and adds a watermark and the full version has no watermark or export limits.
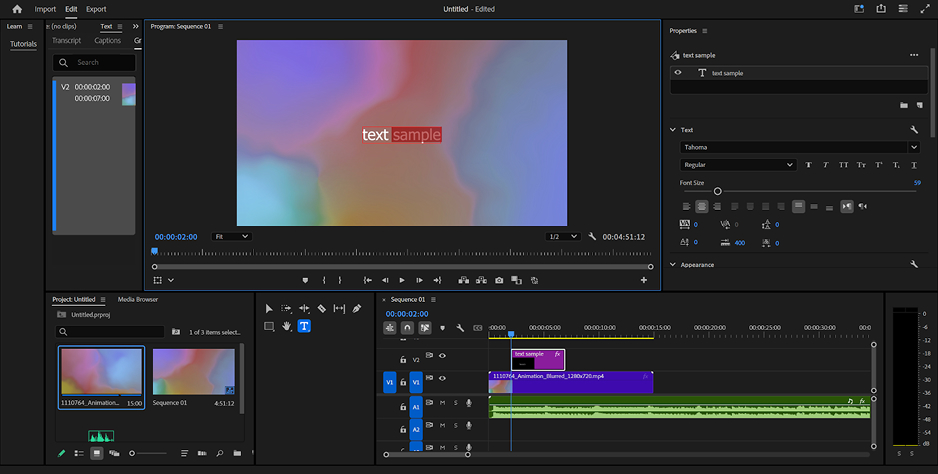
Best for: Bloggers who already work in Adobe® apps and want to add a logo to video inside a professional timeline.
Why we picked it: Premiere® Pro is the editor professionals use for complex projects, and it adds text through Essential Graphics, which needs manual fine-tuning. Its image overlay and opacity controls: a logo sits on a track above your footage, with an Opacity setting in Effect Controls, and an image overlay can also be added at export.
Key features:
Pros:
Cons:
Price and platforms: Windows and macOS. Subscription only, with a 7-day trial. Price: $22.99 per month on the annual plan.
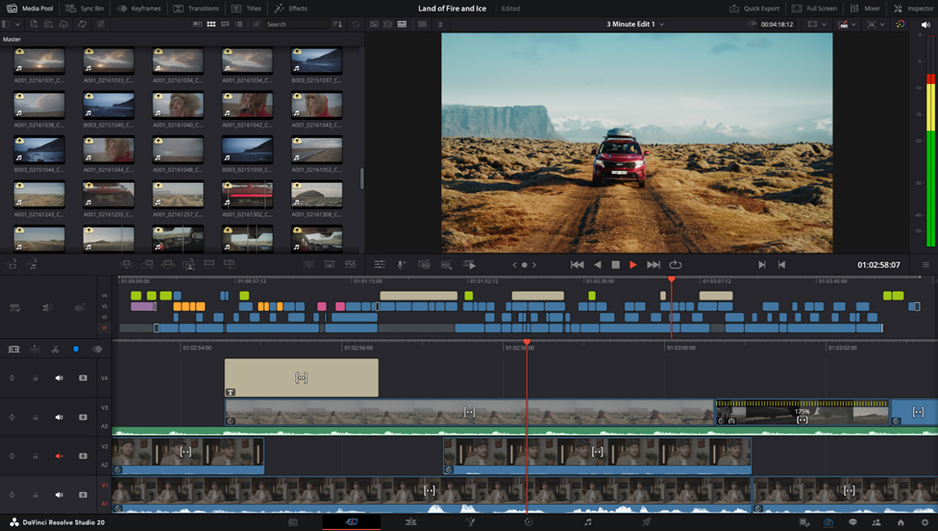
Best for: Bloggers who edit film-style videos and are ready to learn a professional tool.
Why we picked it: Resolve splits the work into Edit, Color, Fairlight, and Fusion modules, and its Text+ titles need extra setup. Its image overlay and opacity controls: a transparent PNG goes on a track above your footage, with Opacity under Composite in the Inspector.
Key features:
Pros:
Cons:
Price and platforms: Windows, macOS, and Linux. The free version has no watermark. The Studio edition is a one-time payment of $295 and adds AI tools, noise reduction, and HDR grading.
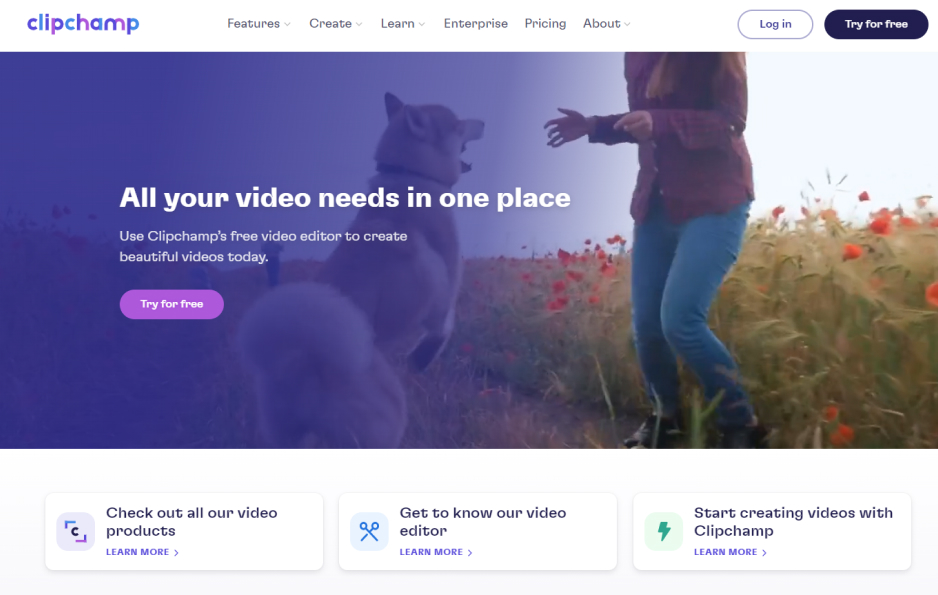
Best for: Entrepreneurs and office workers on Windows who need to add watermark to video online for a quick brand clip.
Why we picked it: Clipchamp is Microsoft’s browser-based editor, built into Windows 11 and Microsoft 365, with a simple timeline that beginners read at a glance. Its image overlay and opacity controls: import a JPEG or PNG logo, drop it on the timeline above your video, and lower its transparency under Adjust colors.
Key features:
Pros:
Cons:
Price and platforms: Browser (Edge or Chrome), Windows 11 app, and iOS app. The free tier exports 1080p with no watermark; 4K and extra stock media need a paid plan (Premium: $11.99 per month).
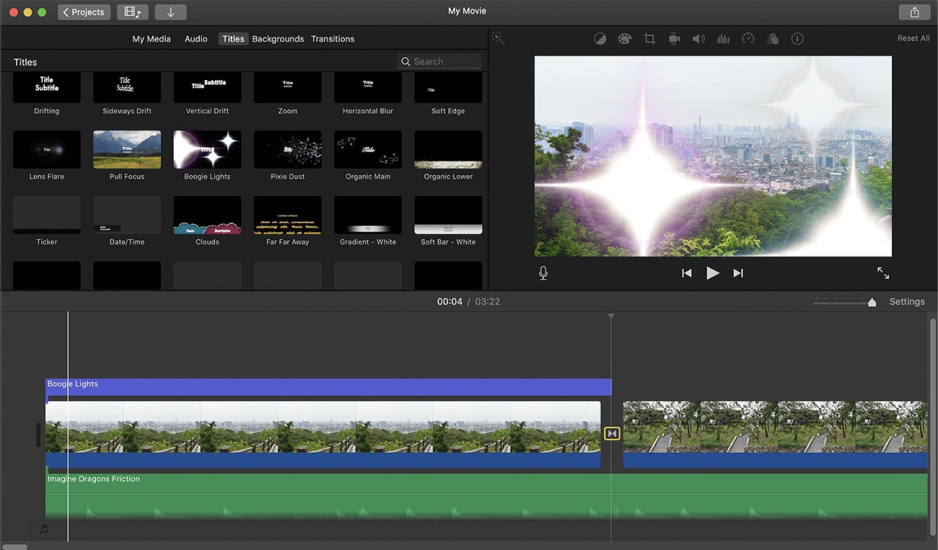
Best for: Mac and iPhone owners making their first lifestyle vlogs.
Why we picked it: iMovie is Apple’s simple editor, preinstalled on its devices, with basic editing and ready-made trailer templates. Its image overlay and opacity controls: there is no dedicated watermark tool, so a PNG goes on as a video overlay, and the Cutaway style has an opacity slider.
Key features:
Pros:
Cons:
Price and platforms: Apple devices only. Free.
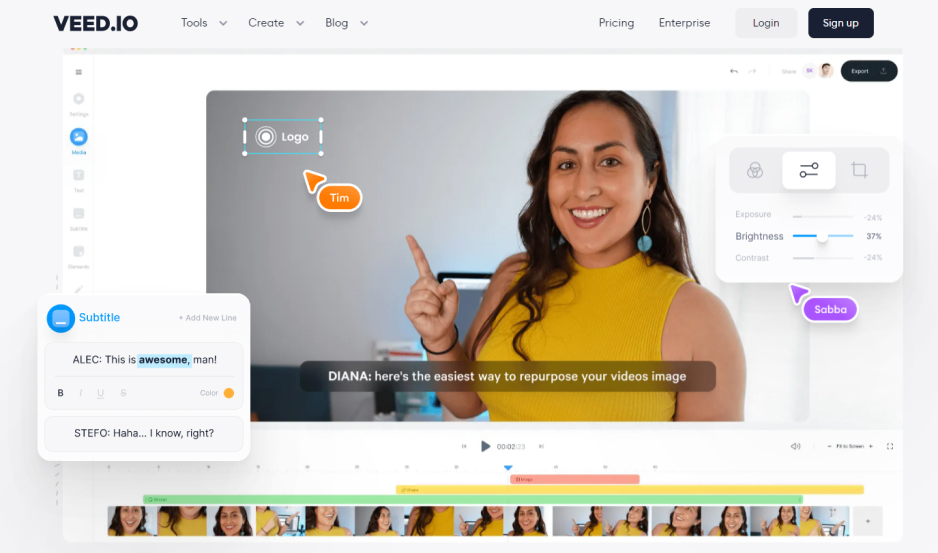
Best for: Entrepreneurs who brand business videos with a team, right in the browser.
Why we picked it: VEED is a browser-based AI editor built for team collaboration and business content, and a brand kit sits among its main tools. The brand kit saves your logo for reuse across projects, and you can place a transparent image or add text anywhere in the frame.
Key features:
Pros:
Cons:
Price and platforms: Browser and mobile app. The free plan adds a watermark, caps exports at 720p and 10 minutes, and limits imports to 1 GB. Paid monthly and annual plans differ in AI toolset, subtitle limits, 4K, and AI credits (Lite is from $9 per month billed yearly, or $19 billed monthly).
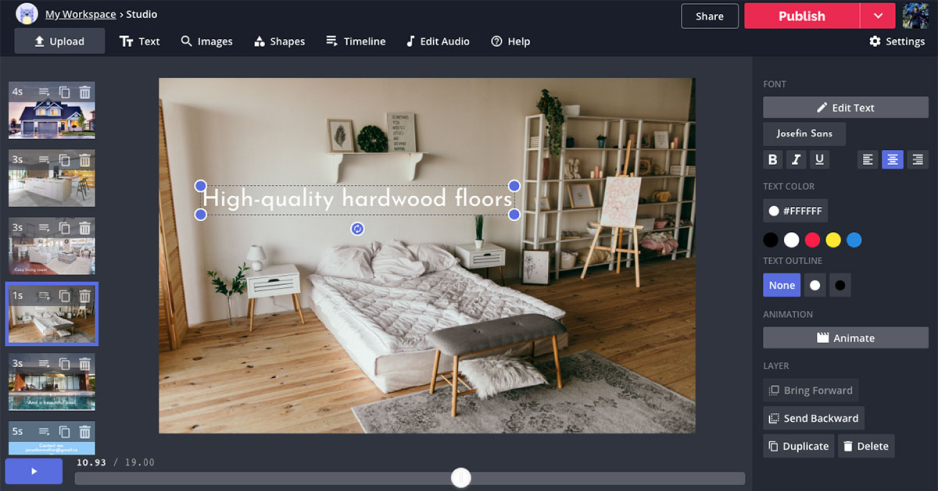
Best for: Bloggers and small shops cutting short social videos in the browser.
Why we picked it: Kapwing is a browser-based editor for teams and social content, with Smart Cut for automatic pause removal and social media templates. Its image overlay and opacity controls: a dedicated watermark tool takes a PNG or a text layer, with opacity, color, outline, and rotation settings.
Key features:
Pros:
Cons:
Price and platforms: Browser. The free plan adds a watermark with 720p exports up to 1 minute. The Pro monthly subscription removes the watermark and widens AI limits (Pro: $24 per member per month, or $16 billed annually).
Pick the video watermark app that matches how many videos you brand and where you edit.
The tools in this list that come with a free version are Movavi Video Editor Free, DaVinci Resolve, Clipchamp, and iMovie. Movavi Video Editor Free caps exports at 60 seconds and adds a watermark. DaVinci Resolve’s free version has no watermark, Clipchamp exports 1080p with no watermark, and iMovie has no watermark or limits. Check those limits first if you need to add watermark to video free on a single clip.
Yes, in some of them. To batch watermark videos across separate files, Movavi Video Converter has an Apply to all files option for one watermark across its file list, Premiere Pro can save an export overlay as a preset, and DaVinci Resolve’s Data Burn-in can save a logo preset for reuse across projects. Inside Movavi Video Editor, two related shortcuts exist: applying one effect to several selected clips, and setting one duration for all images in a project. Both help when a single project holds many clips.
Yes. Clipchamp, VEED, and Kapwing run in the browser. Movavi Video Editor is a desktop app, so importing, positioning, and exporting happen on your computer, without an internet connection.
A PNG with a transparent background, so no box shows around the logo. Movavi Video Editor imports PNG alongside JPEG, BMP, and static GIF files.
Text is faster to set up, while a semi-transparent logo is harder for removal tools to strip. To add text watermark to video in Movavi Video Editor, you type the text into the same Watermark/Logo tool and set the same four options as for a logo.
Keep watermark opacity between 30% and 50%. Go lower and the mark fades out; go higher and it can distract viewers or cover something important. Test your logo on a bright shot and a dark one before you settle.
The bottom-right corner is the usual spot, and the bottom-left works better when your video shows interface elements on the right. A logo about 10–15% of the frame width is big enough to notice and small enough to leave the picture alone.
It identifies you as the source, which is why broadcasters put logos on screen to help reduce copyright infringement. A corner mark won’t stop a determined thief, because it can be cropped out.