
Privacy Policy popup
× Privacy Policy popup
×
 19
 19 Minutes
The best AI video upscaler for most beginners and everyday creators is Movavi Video Editor paired with Movavi Video Converter: one cleans up grain, shake, and color, the other raises the resolution. DaVinci Resolve suits creators ready to learn professional color tools, CapCut fits vertical clips cut from vlogs, and Clideo handles a one-off fix in the browser. Filmora, Adobe® Premiere® Pro, and Final Cut Pro suit frequent YouTubers, Adobe® users, and Mac editors.
This guide is for you if you vlog your travels and want old phone or webcam clips to sit next to this year’s footage, if you keep the family’s birthday and road-trip videos, or if you cut game highlights from older recordings. The goal is the same each time: clean up older clips so they look sharper and steadier next to this year’s footage.
Plain resizing stretches existing pixels over a bigger frame, so edges go soft and blocky. An AI video upscaler uses deep learning models trained on huge sets of images to predict the missing detail and draw it in. Wikipedia’s super-resolution imaging article explains that these methods guess the high-resolution version from other images, with no guarantee the added detail existed in the original.
So upscaling rarely works alone: grain, shake, and dull color get enlarged too. Two terms worth knowing:
| Tool | Best for | Platforms | Max resolution | Free version | Starting price |
| Movavi Video Editor | Old phone and webcam clips for vlogs and family videos | Windows, macOS | 4K export | Movavi Video Editor Free: 60-second cap, watermark, no 4K export | $19.99/month |
| DaVinci Resolve | Manual restoration on a strong computer | Windows, macOS, Linux | Free: 4K UHD (3840 × 2160) at 60 FPS; Studio: up to 32K at 120 FPS | No watermark or time limit; AI tools only in Studio | Studio: one-time payment, $295 |
| CapCut | Vertical clips from lifestyle vlogs | Mobile, web, desktop | 4K on the Pro plan | 1080p; watermark when Pro content or AI clips are used | $19.99/month |
| Filmora | Frequent YouTube vlog uploads | Windows, macOS | 4K export presets; 8K with custom settings | Watermark on every export, limited number of exports | $4.17/month |
| Adobe® Premiere® Pro | Gaming and tech videos in a pro workflow | Windows, macOS | Sequences up to 10,240 × 8,192, enough for 8K | No free version; 7-day trial | $22.99/month |
| Clideo | A quick fix with nothing to install | Browser | Free: up to 720p; paid: 4K (2160p) on Clideo Pro | Watermark, 500 MB file limit, 10 AI credits | $9/month |
| Final Cut Pro | Mac editors with iPhone footage | macOS | 8K and beyond | 90-day trial | $299.99 one-time |
Best for: vloggers and family video keepers who want older clips ready for a 4K project without learning professional software.
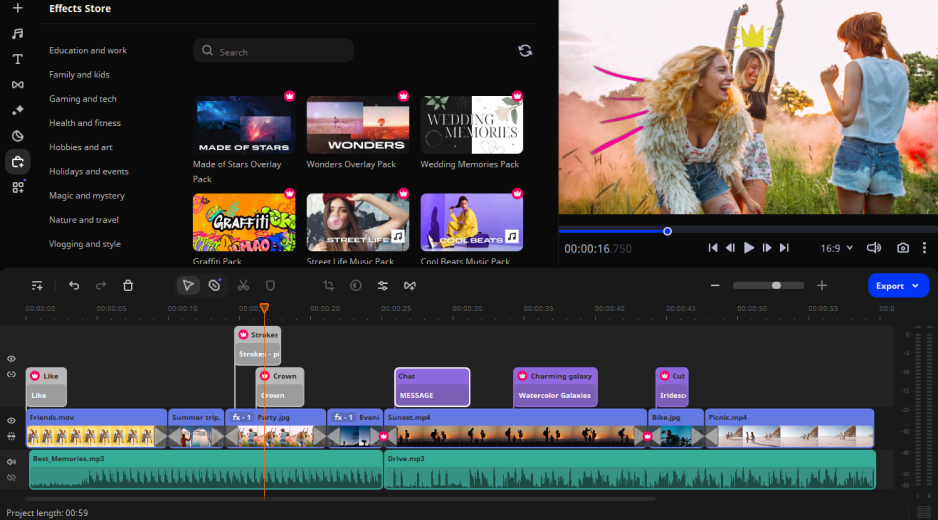
Why we picked it: Movavi Video Editor is an intuitive video editor with customizable video templates, one-click AI tools, and hundreds of drag-and-drop effects. For older footage, AI Video Denoise removes grain and low-light artifacts in one click while keeping faces, textures, and edges sharp, so a dim party clip or an old phone video looks clean on the first try. Stabilization, color correction, and export live in the same program, and the upscale itself runs in Movavi Video Converter, which raises resolution with AI up to 8x.
Key features:
Pros:
Cons:
Price and platforms: Movavi Video Editor Free, Movavi Video Editor Lite, and the full version of $19.99/month. Upscaling needs Movavi Video Converter or Movavi Video Suite, which bundles Movavi Video Editor, Movavi Video Converter, and Movavi Screen Recorder. Windows 10 and 11 (64-bit), macOS 12.0 or later.
Movavi Video Editor is a desktop app for Windows and macOS. Each AI tool takes one tedious job off your hands in a click, so your evening goes into the vlog, not the settings, and hover previews show a preset on your own clip before you apply it. New to editing? Movavi Ideas, a free hub of step-by-step tutorials with new ideas every week, is an easy warm-up. Here’s the route from grainy to upscaled:
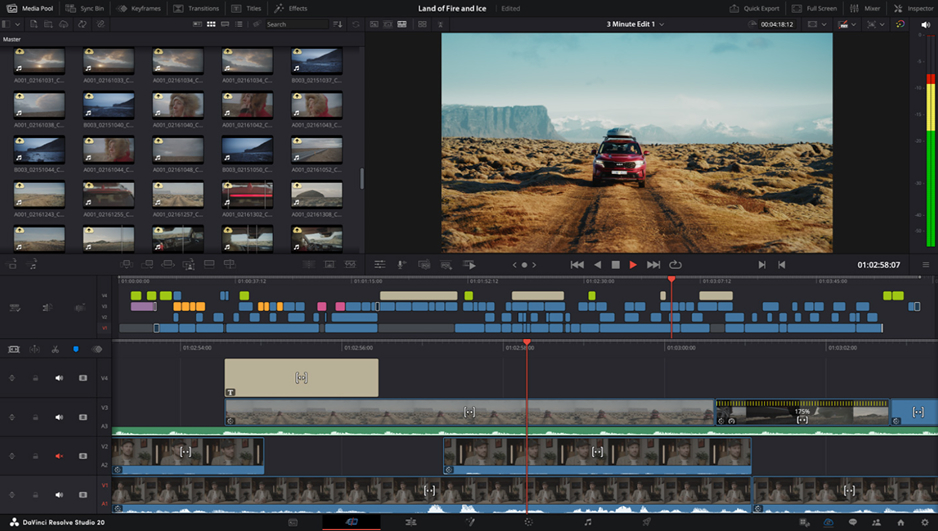
Best for: travel vloggers who want to restore footage by hand and have a strong computer to do it on.
Why we picked it: DaVinci Resolve is a professional tool for editing, color, audio, and VFX, and its paid Studio version adds an AI upscaler called Super Scale. Node-based color grading suits footage you want to repair shot by shot.
Key features:
Pros:
Cons:
Price and platforms: free version; DaVinci Resolve Studio as a one-time payment of $295. Windows, macOS, Linux.
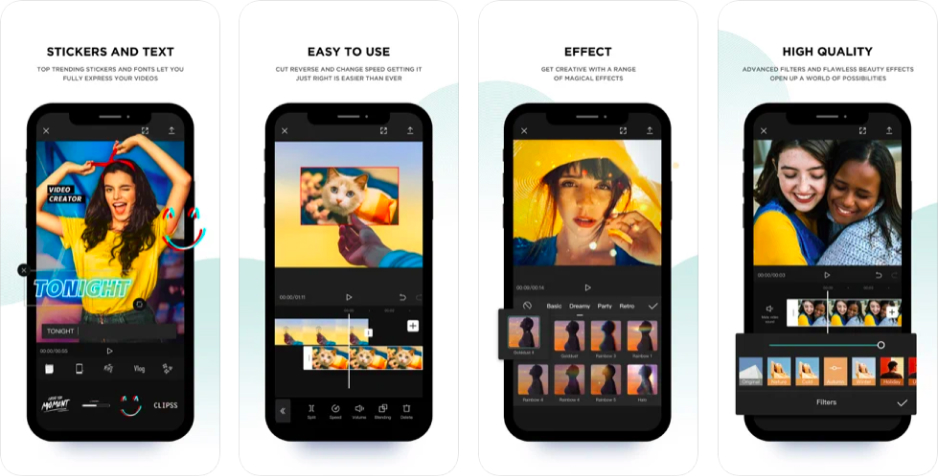
Best for: lifestyle bloggers turning daily-routine vlogs into Reels, TikToks, and Shorts.
Why we picked it: CapCut is a mobile-first editor for short, trending videos, with web and desktop versions too. It handles quality fixes through precise settings and keeps the subject in frame with auto-tracked cropping when a horizontal clip goes vertical.
Key features:
Pros:
Cons:
Price and platforms: Free, Standard, and Pro plans from $19.99/month. Mobile, web, desktop.
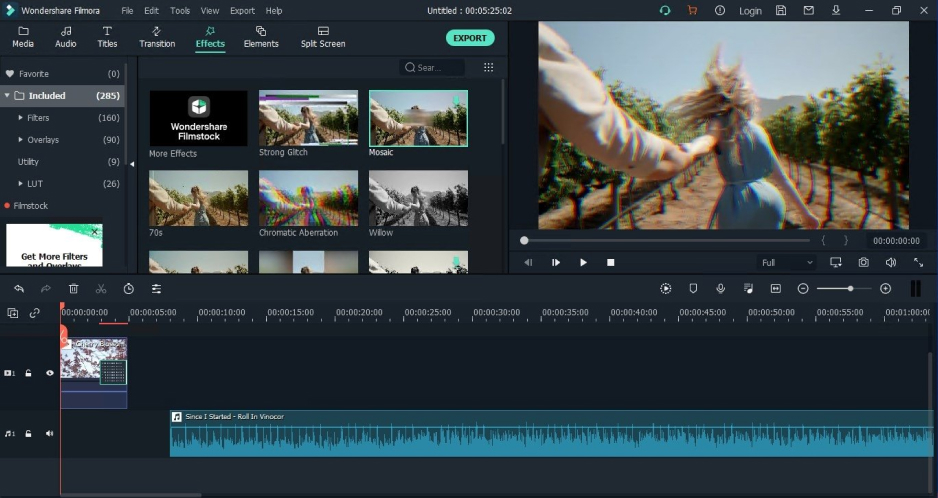
Best for: YouTubers who post vlogs often and want AI fixes inside a familiar desktop editor.
Why we picked it: Filmora is an AI-powered desktop editor that fixes quality with AI tools and a clarity preset you can fine-tune by hand. It runs on a mid-range laptop.
Key features:
Pros:
Cons:
Price and platforms: Free; Basic without AI tools; Advanced with AI, monthly or annual from $4.17/month. Windows, macOS.
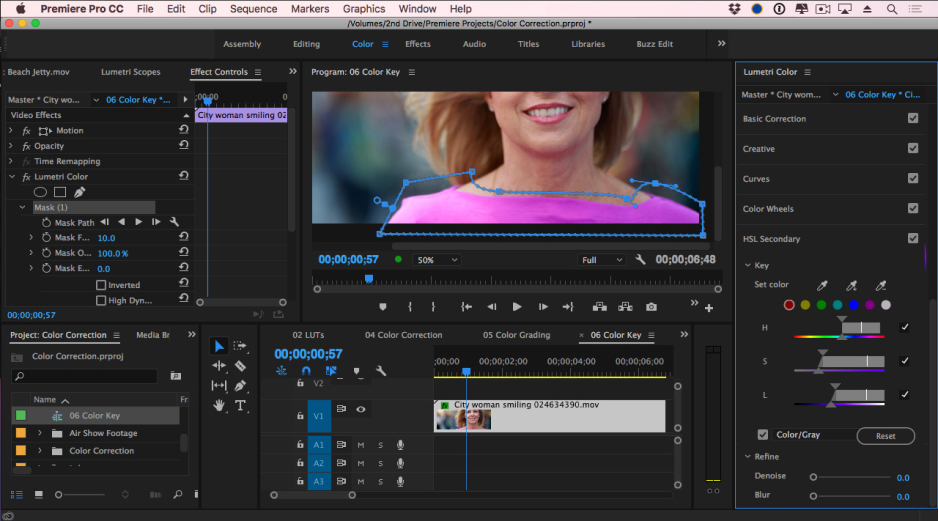
Best for: tech bloggers and gamers who already cut game reviews and highlight edits in professional software.
Why we picked it: Adobe® Premiere® Pro is the industry standard for professional editing, with Lumetri color tools and Warp Stabilizer for footage that needs careful repair. Auto Reframe keeps the subject in frame when a horizontal gameplay clip becomes vertical.
Key features:
Pros:
Cons:
Price and platforms: monthly or annual subscription, standalone or in Creative Cloud Pro; the 7-day trial asks for payment details first of $22.99/month. Windows, macOS.
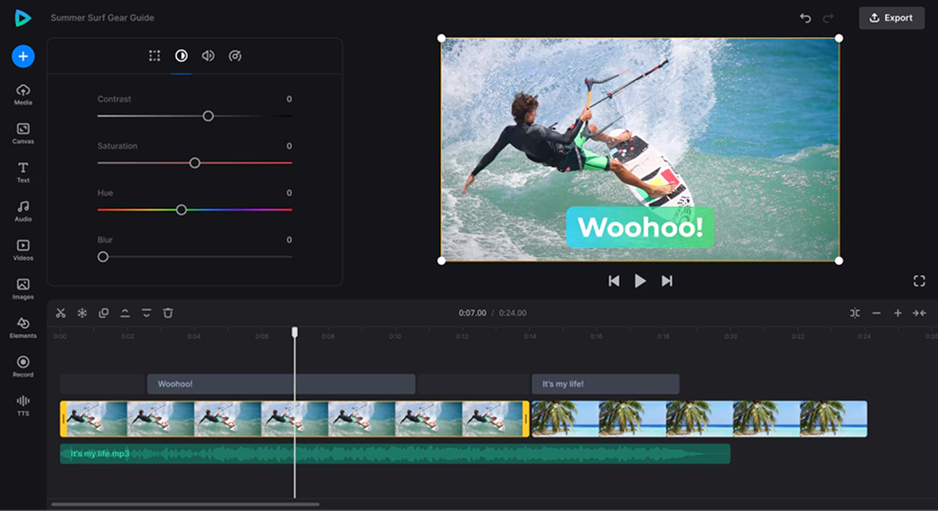
Best for: family video keepers who want a one-off fix for a road-trip clip without installing anything.
Why we picked it: Clideo is a set of more than 30 web utilities for single tasks like trimming, compressing, and converting, and it recently added an AI Video Enhancer. Everything runs in the browser.
Key features:
Pros:
Cons:
Price and platforms: Free; Pro, monthly or annual, with 500+ AI credits from $9/month. Browser.
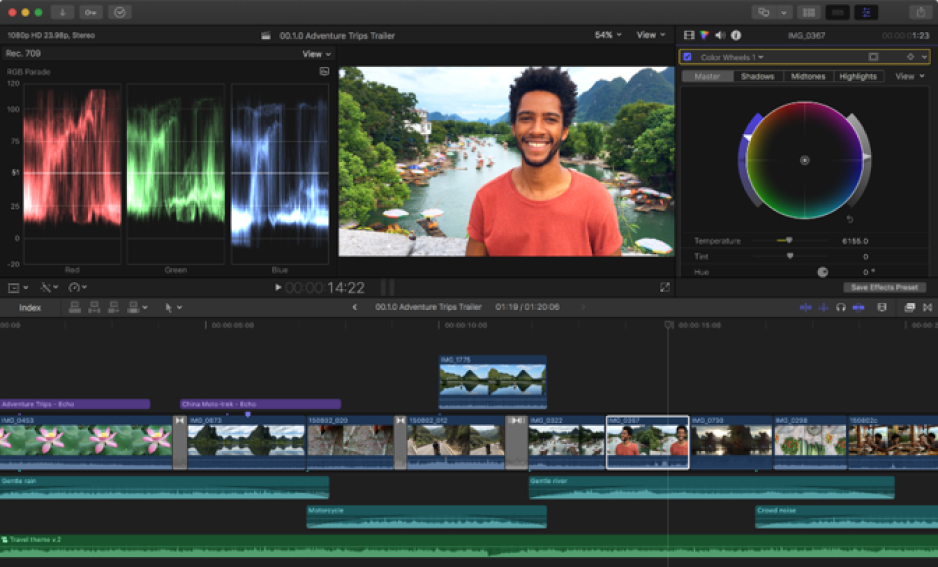
Best for: Mac-based YouTubers polishing iPhone travel vlogs.
Why we picked it: Final Cut Pro is Apple’s professional editor for near-professional Mac users editing iPhone or pro-camera footage for YouTube. It’s a one-time purchase with a long trial.
Key features:
Pros:
Cons:
Price and platforms: 90-day trial; $299.99 as a one-time purchase. macOS.
Old family videos. A wedding tape digitized from VHS or a birthday filmed on an old phone needs gentle care more than raw resolution. Use Movavi Video Editor for the denoise, stabilization, and color, then Movavi Video Converter for the upscale. You don’t have to buy everything at once: try the tools on your own clip in Movavi Video Editor Free, and add Movavi Video Converter or Movavi Video Suite when you’re ready.
Screen recordings and gameplay. Already editing game reviews in Adobe® Premiere® Pro? Stay there. If you’d rather skip a professional interface, Movavi’s color presets and one-click AI Video Denoise handle most fixes, and stabilization smooths shaky clips.
A quick fix online. Clideo handles a single clip in the browser; CapCut covers vertical clips on web and mobile.
Professional restoration. DaVinci Resolve Studio, as long as your computer keeps up. On a Mac, Final Cut Pro. Whatever you choose, the 4K version will only look as good as the order you work in.
Whichever tool you pick, the order of the work decides how good the 4K version looks.
Start from the original file. A copy downloaded back from social media carries extra compression artifacts, and an upscaler sharpens those too.
Denoise first, then upscale. An upscaler can’t tell grain from detail, so it enlarges both. In Movavi, run AI Video Denoise in the editor, then upscale in Movavi Video Converter.
Keep the jump sensible. When you upscale 1080p to 4K, each side of the frame doubles; from 720p, it triples, according to Wikipedia’s 4K resolution article. The bigger the jump, the more detail the AI invents, so a 720p webcam clip won’t match footage shot in native 4K.
Raise the bitrate at export. Wikipedia notes that consumer cameras record 2160p at 50 to 100 Mbit/s, against 10 to 30 Mbit/s for 1080p. A 4K export at a 1080p bitrate throws away the detail you just added, so pick a higher quality setting.
Check it where it’ll be watched: a TV for family movie night, a phone for Reels.
Start with one clip: the dimmest one from last summer’s trip. Clean it in Movavi Video Editor, upscale it in Movavi Video Converter, and drop it next to this year’s footage. Your old webcam deserves a second act, and if this clip holds up, the rest of the archive is next.
Almost any input works, but the result depends on the source. A sharp 1080p clip upscales well; a heavily compressed 480p clip gets bigger without getting truer. Clips with grain or shake need cleanup first, or the upscale makes those flaws bigger too.
Free tiers here come with limits. DaVinci Resolve’s free version has no watermark, but Super Scale is in Studio. Movavi Video Editor Free doesn’t export in 4K, Clideo’s free plan stops at 720p, and CapCut keeps 4K on Pro.
For DaVinci Resolve and Adobe® Premiere® Pro, yes. Movavi Video Editor can use Intel, NVIDIA, and AMD hardware acceleration, and its Fast Track HD option edits lighter copies of HD footage, then swaps the originals back in for export. Browser tools like Clideo trade the hardware load for an upload.
It depends on clip length, the upscale factor, and your hardware; browser tools add upload time. Test a short piece first: Movavi Video Editor can export just a fragment of a project.
Partly. Softness from low resolution, grain, or compression improves. Blur from missed focus or fast motion can’t be truly recovered: the AI draws in plausible detail, which may not match what was there.