
Privacy Policy popup
× Privacy Policy popup
×
 3
 16 Minutes
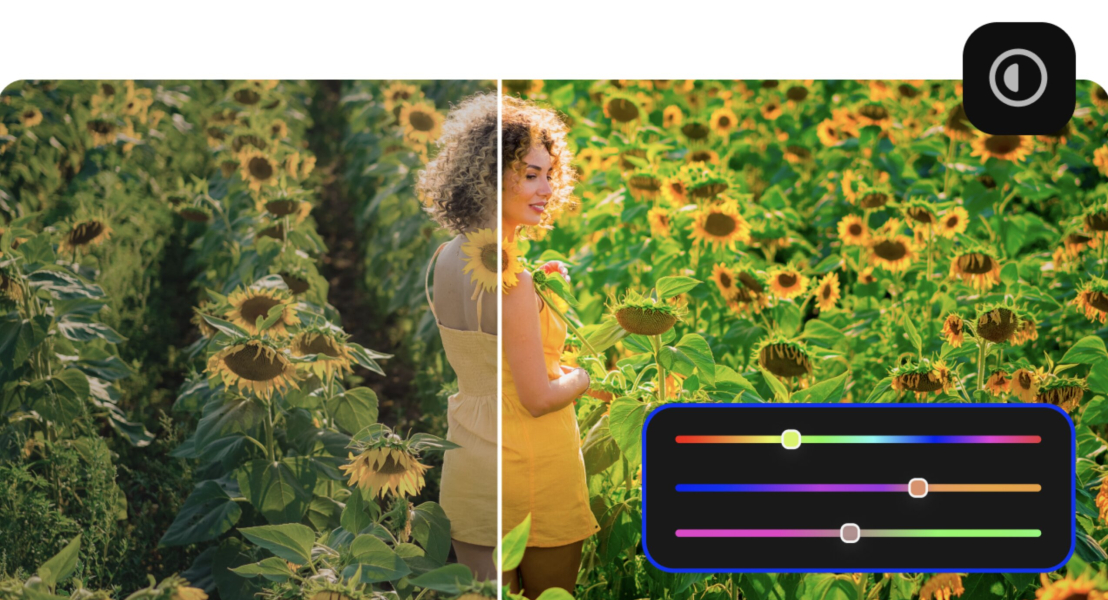
Choosing color-correction software comes down to one question: do you want to fix a shot in a few clicks, or grade every frame by hand? If you film skincare tutorials, travel vlogs, recipe videos, or gadget reviews for your channel, Movavi Video Editor is the place to start, and DaVinci Resolve or Adobe® Premiere® Pro is the color-grading software to grow into.
We picked color-grading tools for creators who film for YouTube or social media and want better color without a film-school detour.
| Software | Best for | Platforms | Free version | Starting price |
| Movavi Video Editor | Beauty tutorials and travel vlogs for beginners | Windows 10 and 11, macOS 12.0+ | Yes: 60-second exports, watermark | $19.95/month |
| DaVinci Resolve | Travel and cinema-review channels ready to grade by hand | Windows, macOS, Linux | Yes, no watermark | Free; paid edition $295 one-time |
| Adobe® Premiere® Pro | Review channels moving to a multicam Adobe setup | Windows, macOS | No, 7-day trial | $22.99/month (annual plan) |
| Final Cut Pro | Gadget reviews shot on iPhone, edited on a Mac | macOS | No, 90-day trial | $299.99 one-time |
| Filmora | Cooking and fitness channels that post often | Windows, macOS | Yes, watermarked exports | Free; paid plans from $49.99/year |
| CapCut | Short beauty and fashion clips | Mobile, web, desktop | Yes: 1080p, watermark with Pro content or AI | Free; paid plans from about $9.99/month |
| Clipchamp | Quick unboxing clips on a Windows 11 PC | Browser, Windows 11 app, iOS app | Yes: 1080p, no watermark | Free; paid plan $11.99/month |
| iMovie | First travel vlogs on Apple devices | Apple devices | Yes, no watermark | Free |
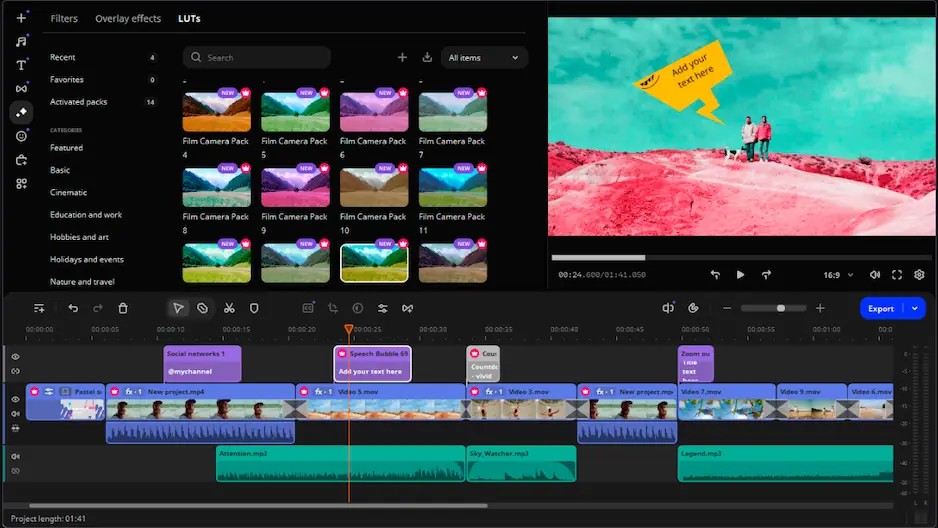
Best for: beauty, skincare, and travel vloggers who want their first edit to look finished.
Price and platforms: Movavi Video Editor Free exports videos up to 60 seconds long, with a watermark. The full version costs from $19.95 per month. Windows 10 and 11 (64-bit), macOS 12.0 or later.
Why we picked it: Movavi Video Editor is an intuitive video editor with customizable video templates, one-click AI tools, and hundreds of drag-and-drop effects. It’s a desktop app for Windows and macOS, and color works like everything else in it: hover over a preset to preview it, then drag it onto your clip. Filmed a skincare routine under a warm lamp? Drop a color preset on the clip, then nudge contrast and saturation by hand until the product shades on screen match the jar. The drag-and-drop workflow keeps that step short, so your evening goes into filming, not into figuring out software. Movavi software has 70M+ users worldwide. The editor gets 25+ updates a year, so new tools keep arriving.
Key features:
Pros:
Cons:
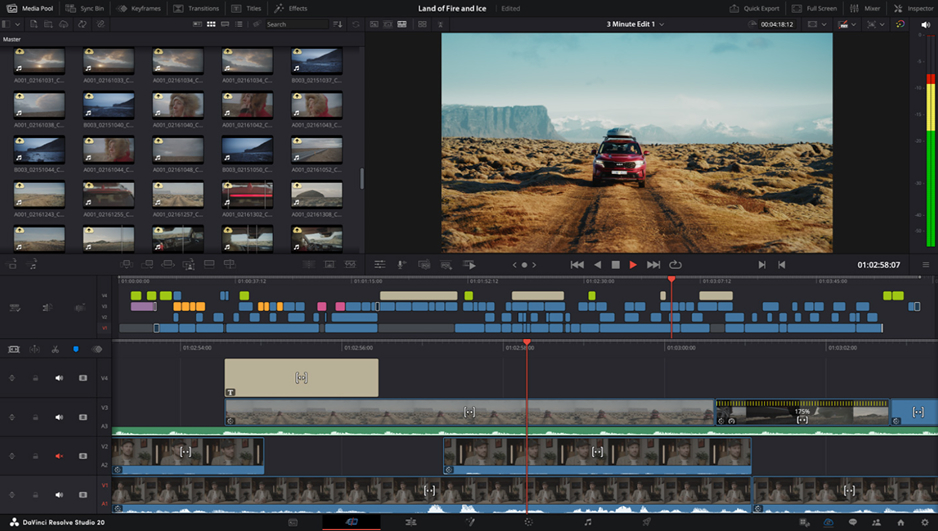
Best for: travel and cinema-review channels ready to grade every shot by hand.
Price and platforms: free base version with no watermark; the paid edition, which adds HDR grading and AI tools, is a one-time purchase of $295. Windows, Mac, Linux.
Why we picked it: Resolve is a professional tool for editing, color, audio, and VFX, and its Color module is built for film-grade work. It has the deepest color toolset on this list, so it’s the one to learn if grading becomes your favorite part of the edit.
Key features:
Pros:
Cons:
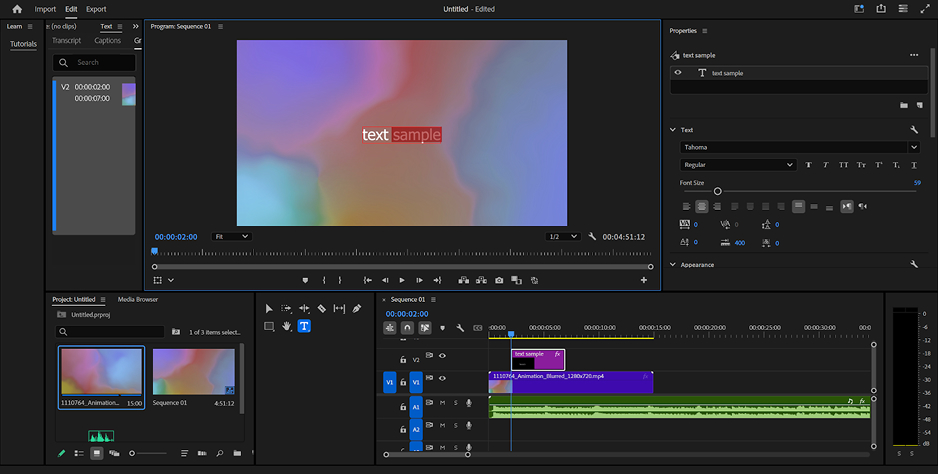
Best for: music, art, and cinema review channels moving to a multicam setup alongside other Adobe apps.
Price and platforms: subscription only, from $22.99 per month on an annual plan, with a 7-day trial that requires payment details to start. Windows and Mac.
Why we picked it: Premiere® Pro is the standard for people who edit video for a living. Color lives in Lumetri, where Auto Color gives you a first pass and curves, color wheels, and HSL handle the manual work.
Key features:
Pros:
Cons:
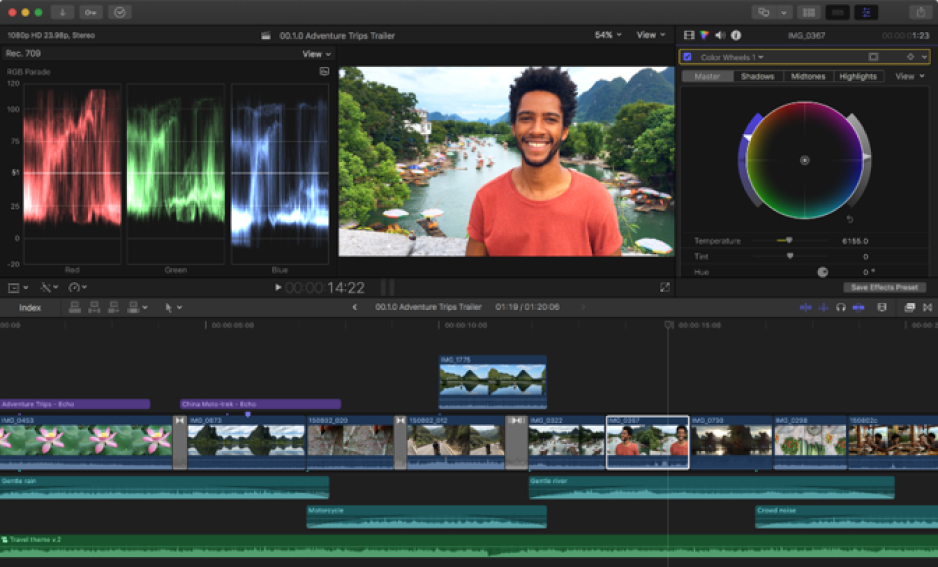
Best for: tech bloggers who shoot gadget reviews on iPhone or a pro camera and edit on a Mac.
Price and platforms: macOS; 90-day trial, then a one-time purchase of $299.99.
Why we picked it: Final Cut Pro brings professional editing to the Apple ecosystem, with a magnetic timeline and advanced color correction.
Key features:
Pros:
Cons:
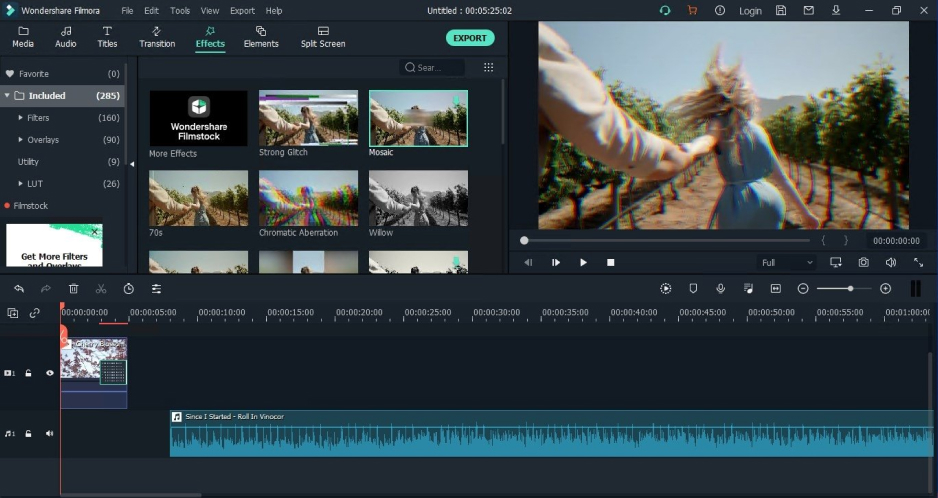
Best for: cooking, fitness, and food channels that post often.
Price and platforms: free version with watermarked exports; paid plans from $49.99 per year remove the watermark. Windows and Mac.
Why we picked it: Filmora is an AI-centered desktop editor aimed at steady video production, and its color correction comes with AI lighting correction.
Key features:
Pros:
Cons:
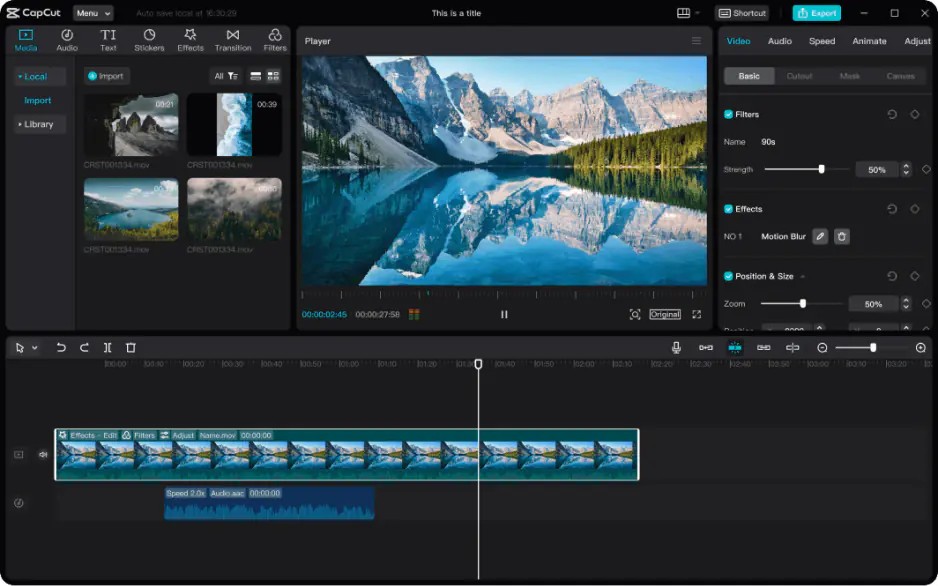
Best for: beauty and fashion creators posting short vertical clips.
Price and platforms: free version exports in 1080p, with a watermark when you use Pro content or AI clips; paid plans start at about $9.99 per month in the US and vary by region. Mobile, web, desktop.
Why we picked it: CapCut is a mobile-first editor for short, trending videos and part of the TikTok ecosystem. Its color correction adds AI lighting changes.
Key features:
Pros:
Cons:
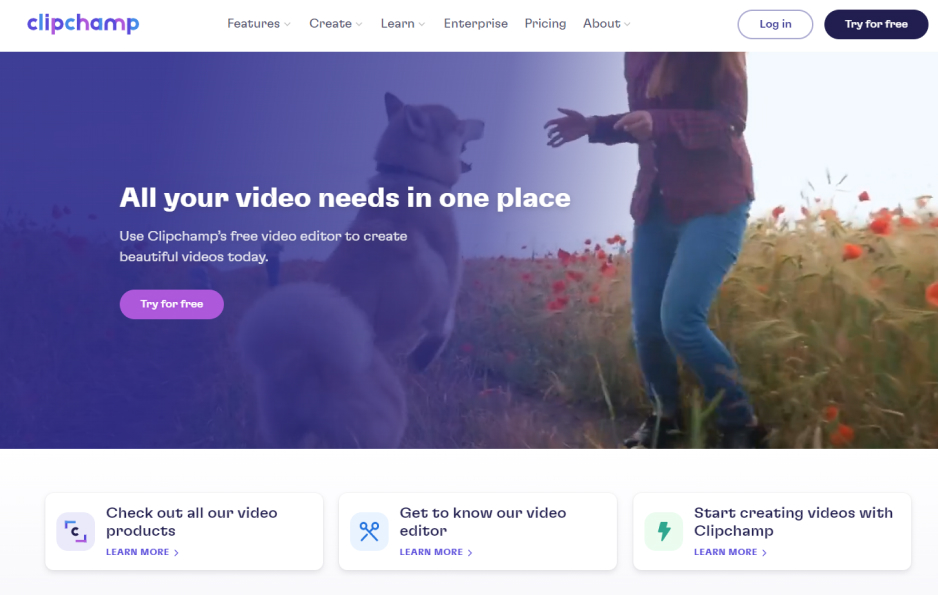
Best for: tech bloggers cutting quick unboxing clips on a Windows 11 PC.
Price and platforms: free version with 1080p export and no watermark. A paid plan at $11.99 per month adds 4K export, and Microsoft 365 Personal and Family include it. Browser, Windows 11 app, iOS app.
Why we picked it: Clipchamp is Microsoft’s browser-based editor, built into Windows 11 and Microsoft 365. Its temperature slider can warm up an unboxing shot filmed under cold office light, and filters cover the rest.
Key features:
Pros:
Cons:
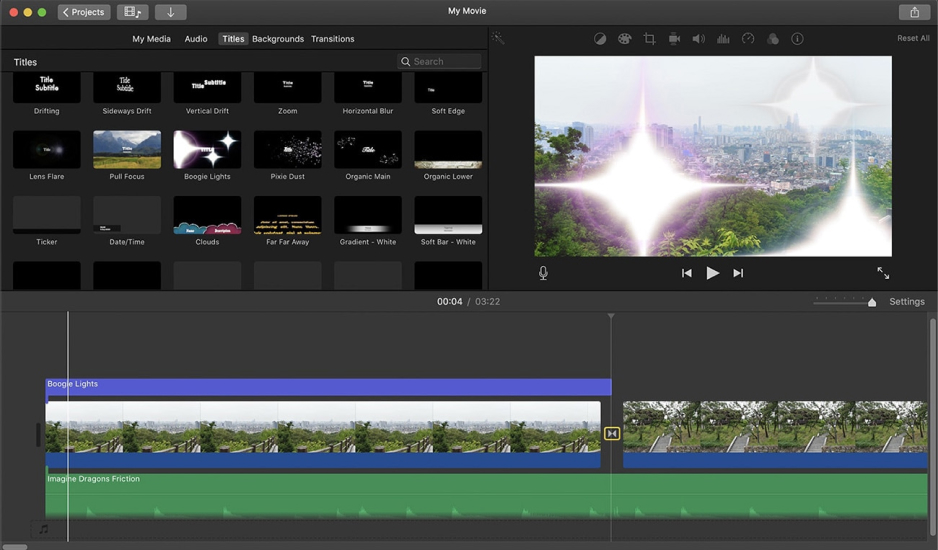
Best for: first travel vlogs on a Mac or iPhone.
Price and platforms: free, with no watermark. Mac and iPhone.
Why we picked it: iMovie is Apple’s simple editor, preinstalled on its devices, with simple color correction and ready-made trailer templates.
Key features:
Pros:
Cons:
Our pick for beginners and YouTubers is Movavi Video Editor. Color is rarely the only job in a vlog, and its one-click AI tools take the tedious parts off your plate: auto subtitles in 100+ languages, video and audio noise removal, and silence removal that cuts dead air without manual trimming. The licensing bends to your budget, too. Start with Movavi Video Editor Free, move to the full version, and add an effects or templates subscription only when your channel needs one.
Color is only part of the look. Hundreds of built-in drag-and-drop titles, transitions, filters, and overlays come with the editor, and the Movavi Effects subscription adds 10,000+ more effects for every theme and mood. It also brings 1,500+ music tracks, and you can preview everything on your own footage before buying.
If your situation looks different, match it to the tool:
Pick one clip you’ve already shot, open it in the editor that fits, and try a preset before you touch a single slider. Once the color looks right, sound is the next stop: AI audio noise removal in Movavi Video Editor clears traffic, wind, and steady hums from that same travel vlog.
Color correction fixes what the camera got wrong, so the shot looks like the scene did: white balance (whether white objects actually look white), exposure, and contrast. Color grading comes after and sets a mood, like a warm sunset look for a travel vlog or a cinematic LUT on a film review. Most beginners need correction first; grading is the fun layer on top.
Work in a fixed order. Set white balance first, then exposure and contrast, then saturation, and add a look only at the end. Check skin tone last: if faces look orange or gray, ease off temperature or saturation. With presets, start from the closest one and adjust.
Color wheels give finer control over shadows, midtones, and highlights. A color mask limits a correction to one area, such as a face or the sky. AI color match tools handle color matching between two shots automatically. They’re worth learning once single-shot fixes feel easy; DaVinci Resolve, for example, lets you stack corrections in Nodes rather than in one flat set of sliders.
Yes. Movavi Video Editor handles MP4, MOV, AVI, MKV, and WMV video.