Privacy Policy popup
×Privacy Policy popup
×
 4,454
4,454  22 Minutes
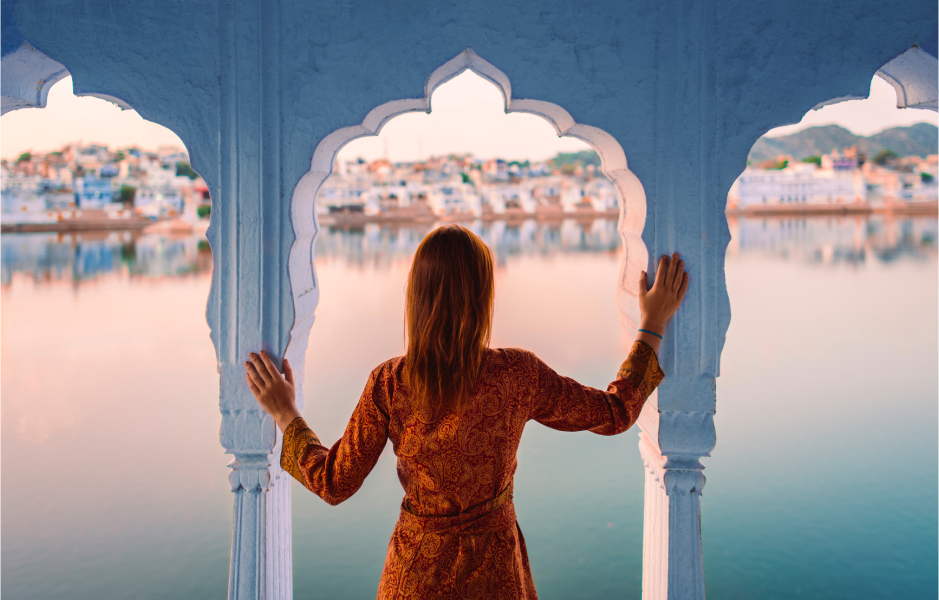
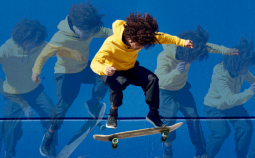
Whether you’re gearing up for the trip of a lifetime or showcasing the sights in your local area, travel videos give you and others the chance to experience truly magical moments again and again. Here’s how to make sure you not only capture those memories but avoid the most common pitfalls and beginner mistakes in the process.
Want to create a breathtaking travel video but don’t know where to start? The travel vlog tips below will help you get your adventure, and your travel diary, off on the right foot. If you’ve ever wondered how to make a travelogue video, this article is for you!
If you’re curious about how to make a travel video, your first stop should be where to find great travel video ideas and inspiration! Here’s what we recommend to check out:
Building a story or narrative for your travel video helps to structure your content and make it more engaging. Before you start filming, draft a scenario or storyboard that outlines the scenes you’d like to capture.
A storyboard is essentially a visual plan of your video. It involves sketching out your scenes in sequence, similar to a comic strip. Each frame represents a specific shot or a key moment in your video. Accompanying each frame, you might include notes about the action happening, dialogue being spoken, or any specific camera angles or movement you envision.
Storyboarding is incredibly helpful if you want to know how to create a travel video, because it helps you to visualize your final product, plan your shots, and ensure a coherent storyline.
The process of making a storyboard is actually very simple:
It’s important to keep in mind that a storyboard is a planning tool in the making of a good travel video. It’s okay if things change when you’re actually filming; the purpose of the storyboard is to give you a clear starting point and general guide.
Think of your camera as your constant travel companion. Shooting a travel video doesn’t have to be expensive, though. In deciding which camera to use, keep the following tips in mind to help you choose.
Identify your requirements and budget. Before anything else, ponder upon your specific needs. Will you be doing more filming or photography, or a mix of both? How crucial is the camera’s size and weight for you? Do you plan to film underwater or in rough weather? And importantly, what’s your budget like? Knowing the answers to these questions will assist you in navigating towards the ideal camera type and model.
Shooting techniques involve how you capture your subject with your camera. Done right, these techniques will make your vacation video diary even more engaging and fun to watch.
Rule of thirds. Imagine your frame is divided into nine equal squares by two horizontal and two vertical lines (like a tic-tac-toe board). The rule of thirds suggests placing your subject or important elements of your scene along these lines, or at the points where they intersect. This creates balance and interest in your composition.
Try different types of shots. Think of your video like a delicious meal, you wouldn’t enjoy it as much if it was all the same flavor, right? Your video needs that variety, too. Start with “wide shots” which show everything – like an entire city skyline. Then, add in “medium shots” that focus more on a person or an object, and finally, sprinkle in some “close-ups” that show tiny details or people’s emotions. Mix it up!
Moving the camera – panning and tilting. Picture yourself watching a tennis match, your head moves side to side following the ball, right? That’s panning. Now, imagine nodding your head “yes”, that’s tilting. These simple movements with your camera can show more of your scene or keep up with moving subjects.
Low and high angles. This is all about where you point your camera. Try filming from down low with the camera pointing up (low angle), it’s like looking up at a tall building, making everything seem big and important. Then try the opposite, filming from up high with the camera pointing down (high angle), this can make things seem smaller and gives a great overall view.
Playing with focus – depth of field. This is about choosing what’s clear and what’s blurry in your shot. Imagine taking a photo of a friend with a busy street in the background. If you make only your friend clear and the street blurry (shallow depth of field), your friend will really stand out. But, if you make both your friend and the street clear (large depth of field), you’ll get a rich, detailed picture of the location.
The magic of lighting. Ever noticed how lovely everything looks at sunrise or sunset? That’s because of the warm, soft light we get during these golden hours. Try filming during these times for an almost magical feel to your videos.
Sound quality is an often overlooked but vitally important aspect of creating professional-looking (and sounding!) travel videos. Here are some points to keep in mind:
Consider the environment. Where you’re filming will greatly affect your sound quality. Open areas have more wind noise, while more urban settings are prone to lots of background chatter.
Use an external microphone. Built-in microphones on cameras or smartphones often capture a lot of ambient noise and may not provide the best audio quality. An external microphone can help reduce this background noise and improve sound quality considerably.
Reduce wind noise. Wind can be a major issue when recording audio, especially outdoors. Wind screens can help reduce wind noise and should be used whenever possible in breezy conditions.
Monitor audio. If your camera allows, use headphones to monitor your audio while recording. This can help you catch any issues like wind noise, overly loud sounds, or audio clipping early.
Consider sound levels. Be mindful of the volume of your subject and ensure they’re not too quiet or too loud. Most cameras have an audio meter; make sure your audio is not peaking (too loud) or too low.
Use a dedicated audio recorder. For the best audio quality, consider using a separate device, like a digital audio recorder. These devices typically have better preamps and can record in higher quality formats than a camera.
Post-production. Don’t forget about post-production. You can make a lot of fixes and improvements in travel video-editing software later on. This can include reducing noise, adjusting levels, or even adding in sound effects or music to enhance your video.
Legal considerations. If you plan to use music in your video, make sure you have the necessary rights or licenses. Many royalty-free music libraries are available online for this purpose.
Drone footage can be a great way to go beyond your average holiday video and create something truly spectacular. However, it’s important to consider the following before you go:
Know the laws. Before you start, familiarize yourself with the drone laws and regulations in the country and area where you’ll be filming. Some areas have restrictions or may require you to obtain a permit before you can fly a drone.
Practice makes perfect. Flying a drone requires skill, so start by practicing in a safe, open space. You can’t just toss it in a bag and hope for the best at the last minute!
Plan your shots. Just like ground-level filming, it’s important to plan your shots ahead of time. Think about what you want to capture and how to best achieve that with your drone. You can even make a storyboard just for the drone footage if you want.
Experiment with different angles and heights. Drones give you the ability to capture footage from unique angles and heights. Try flying low for more detailed shots, or go high for panoramic views. Experiment with different angles to see what looks best.
Use the right settings. Make sure your drone camera is set up properly for the conditions. This can include adjusting the resolution, frame rate, shutter speed, and ISO, among other things.
Make smooth movements. When filming, make your drone movements as smooth and steady as possible. Abrupt changes in direction or speed can result in jumpy, unprofessional-looking footage.
Mind the weather. Weather can significantly affect your drone footage. Wind can make it harder to control your drone and cause shaky footage, while bright sunlight can result in overexposed shots. Always check the weather conditions before you start flying.
Beware of obstacles. Always be mindful of potential obstacles, such as buildings, trees, power lines, and people. It’s easy to get caught up in what you’re filming and forget to keep an eye on your surroundings.
Be respectful. Not everyone enjoys having a drone buzzing around, especially in quiet or natural areas. Be mindful of others and try not to disturb people or wildlife.
Post-production. Just like with regular videos, drone footage can be significantly improved in post-production. This can include color grading, stabilizing shaky footage, or even adding effects. The right travel video editor can make post-production a breeze!
There’s nothing worse than running out of battery or memory in the middle of a perfect shot. Always bring spares and backup your footage regularly. Don’t forget to bring your charger and a plugin designed for your destination!
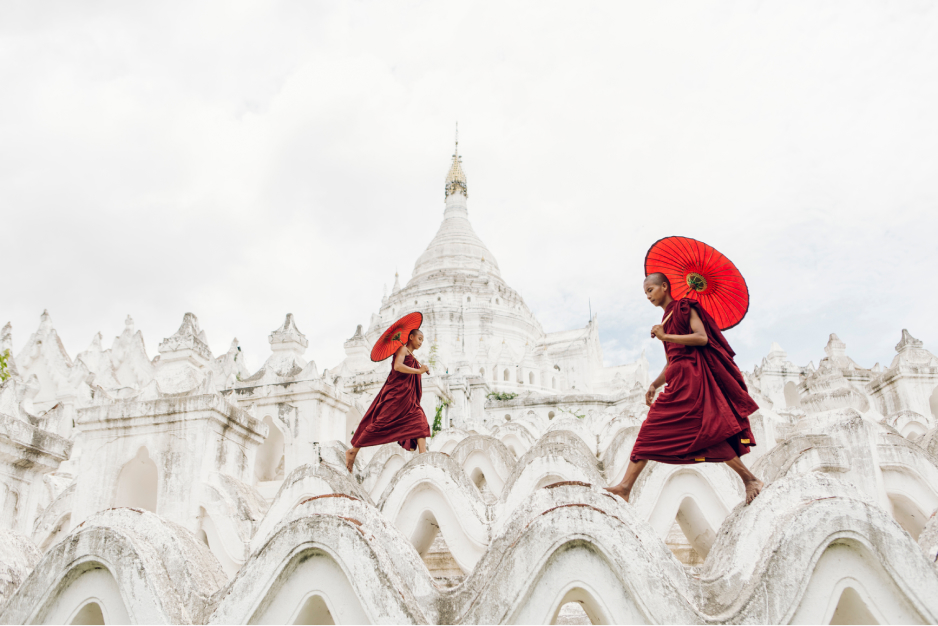
One of the best ways to make your travel video truly stand out is through your interactions with the locals. But be careful how you go about this, as every country has its own rules and customs.
Respect local customs and traditions. Before you start filming, take time to learn about the local customs, traditions, and etiquette. This shows respect and helps prevent any accidental cultural insensitivity.
Ask for permission. Always ask for permission before filming people, especially in close range. Not everyone is comfortable being on camera, and it’s important to respect their privacy.
Use a guide or translator. If there’s a language barrier, consider hiring a local guide or translator. They can help facilitate communication, and you’ll often get more engaging and detailed interactions.
Be genuine and open. Be yourself and show genuine interest in the people you’re interacting with. Ask questions about their lives, culture, and traditions. Authenticity tends to invite more open and honest responses.
Show appreciation. If someone has taken the time to talk to you or show you something, express your gratitude. This could be in the form of a simple thank you, a small gift, or even a copy of your video.
Participate. If invited, take part in local activities or traditions. This not only makes for great footage but also deepens your connection with the locals and their culture.
Share the spotlight. Instead of always talking to the camera yourself, let the locals share their stories. This can make your travel video more engaging and provides a variety of perspectives.
Be patient. Good interactions often take time. Not every attempt will be successful, and that’s okay. Be patient and keep trying.
Remember that you’re a guest. Always keep in mind that you’re a visitor in someone else’s home or community. Be respectful, considerate, and approach interactions with a sense of humility and gratitude.
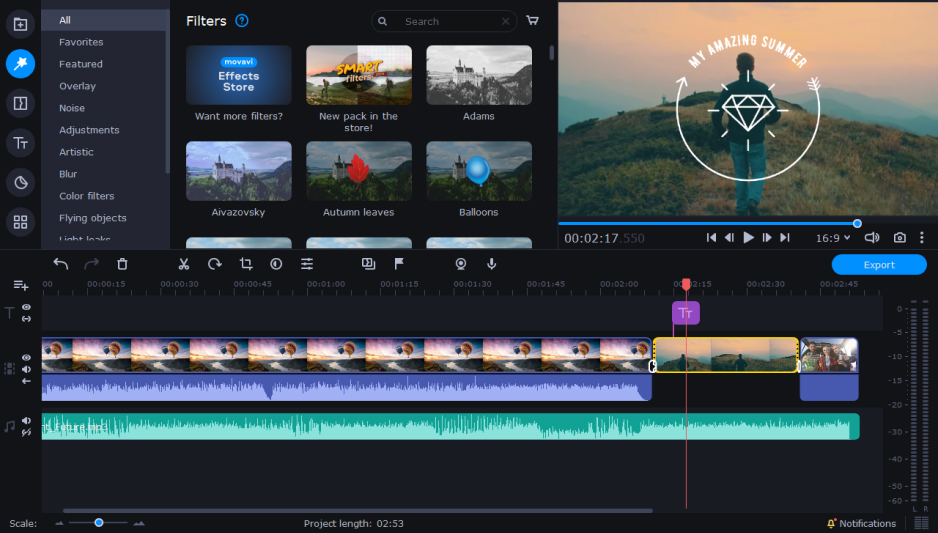
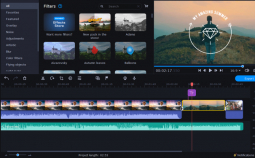
Editing is where your travel diary video truly comes to life. Using travel video-editing software, like Movavi Video Editor, is a great way to create professional-looking travel videos in a fraction of the time. Below, we’ll show you step-by-step how to edit your travel videos using this full-featured travel video maker.
Download the installation file for your OS, open it, and follow the on-screen instructions to finish the installation.
To bring your travel clips into the software, hit the Add Files button and track down where your video clips are stored on your computer. After selecting them, they will pop up in the Project files. Drag and drop them into the Timeline at the bottom of the screen.
Want to get rid of some parts of the video? Select the clip in question on your timeline, guide the red marker to the part you want to cut, then click the scissors icon. For the part you don’t need, select it and then hit the Delete button. You can also drag clips around to reorder them.
Transitions are the bridge between one clip and another, and they make your video flow. Open the Transitions tab, pick a transition style that you fancy, then drag and drop it between two clips on the timeline. You can fade in or out as well as take advantage of a variety of creative transitions to add professional style to your travel journal.
Open on the Titles tab to add text or titles to your video, with several styles to choose from. Just like video clips, you can drag and drop your text where you want it on the timeline. If you need to change it, just double-click the text box in the preview.
To set your video to music, click Add Files again, but now you’re selecting your music files. These will line up on the Audio track. Just like the video clips, you can cut and move them around.
Once your video looks perfect, click the Export button. Pick the video format you want, name your file, and decide where to save it. Then press Start and the video will begin rendering in preparation to save it.
Creating a captivating travel video is truly an art form that combines elements of storytelling, technical skill, and a keen eye for beauty. We’ve journeyed through finding inspiration, scripting, choosing the right equipment, shooting techniques, and the essentials of video editing. We’ve also touched on the importance of sound quality, interacting with locals, and even the exciting possibilities of drone footage.
Remember, the heart of your travel video lies in the story you want to share. Focus on capturing the spirit of the places you visit, the people you meet, and the unique experiences you have.
With an excellent travel video editor like Movavi Video Editor by your side, it’s time to create travel videos that inspire, entertain, and transport your audience to amazing places around the globe. Happy filming!